
Difference between revisions of "RoballRFDocumentation"
From IntRoLab
(→Changing the Audio Setup) |
(→Changing the Audio Setup) |
||
| Line 34: | Line 34: | ||
# Start the Roball-RF GUI and connect to the robot. | # Start the Roball-RF GUI and connect to the robot. | ||
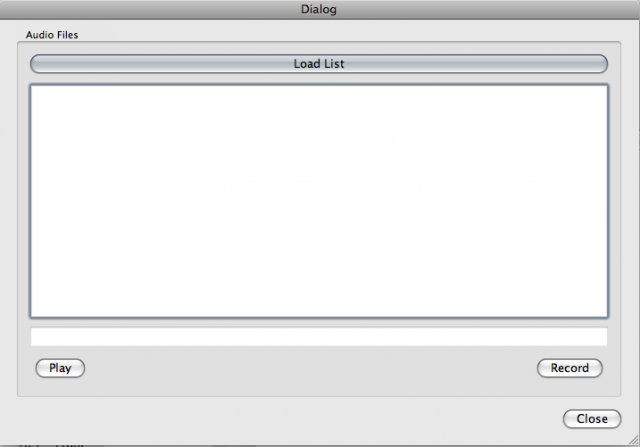
# In the application menu, click on Config->Audio Setup You should see the following dialog: [[Image:RoballAudioSetupEmpty.png | 640px | center]] | # In the application menu, click on Config->Audio Setup You should see the following dialog: [[Image:RoballAudioSetupEmpty.png | 640px | center]] | ||
| − | # Create a text file containing the list of audio files you want to use with Roball. [[File:AudioSetup.txt | Here is an exmple of text file]. | + | # Create a text file containing the list of audio files you want to use with Roball. [[File:AudioSetup.txt | Here is an exmple of text file]]. |
[[Image:RoballAudioSetup.png | 640px | center]] | [[Image:RoballAudioSetup.png | 640px | center]] | ||
Revision as of 18:52, 12 June 2009
Contents
Roball RF Documentation
Coming soon...
Connecting to Roball

When connected:

Operating the robot
Virtual Joystick
Activating Behaviors Manually

Starting Pre-Programmed Mode
Logging data

Saving to a log file

Clearing the Displayed Log
Changing the Audio Setup
- Connect the audio cable from your computer to Roball's audio jack.
- Start the Roball-RF GUI and connect to the robot.
- In the application menu, click on Config->Audio Setup You should see the following dialog:
- Create a text file containing the list of audio files you want to use with Roball. File:AudioSetup.txt.

